Agent Guide: How to Re-Assign an Incident
Agent Guide: How to Re-Assign an Incident
- In the Wavity platform, handling and updating incidents as an agent is a simple and intuitive process.
- Note: The steps outlined below serve as general instructions and can be customized to meet specific organizational needs; however, the core workflow remains the same.
- Agents with the appropriate access can log in using their credentials and will be directed to the Agent Interface.
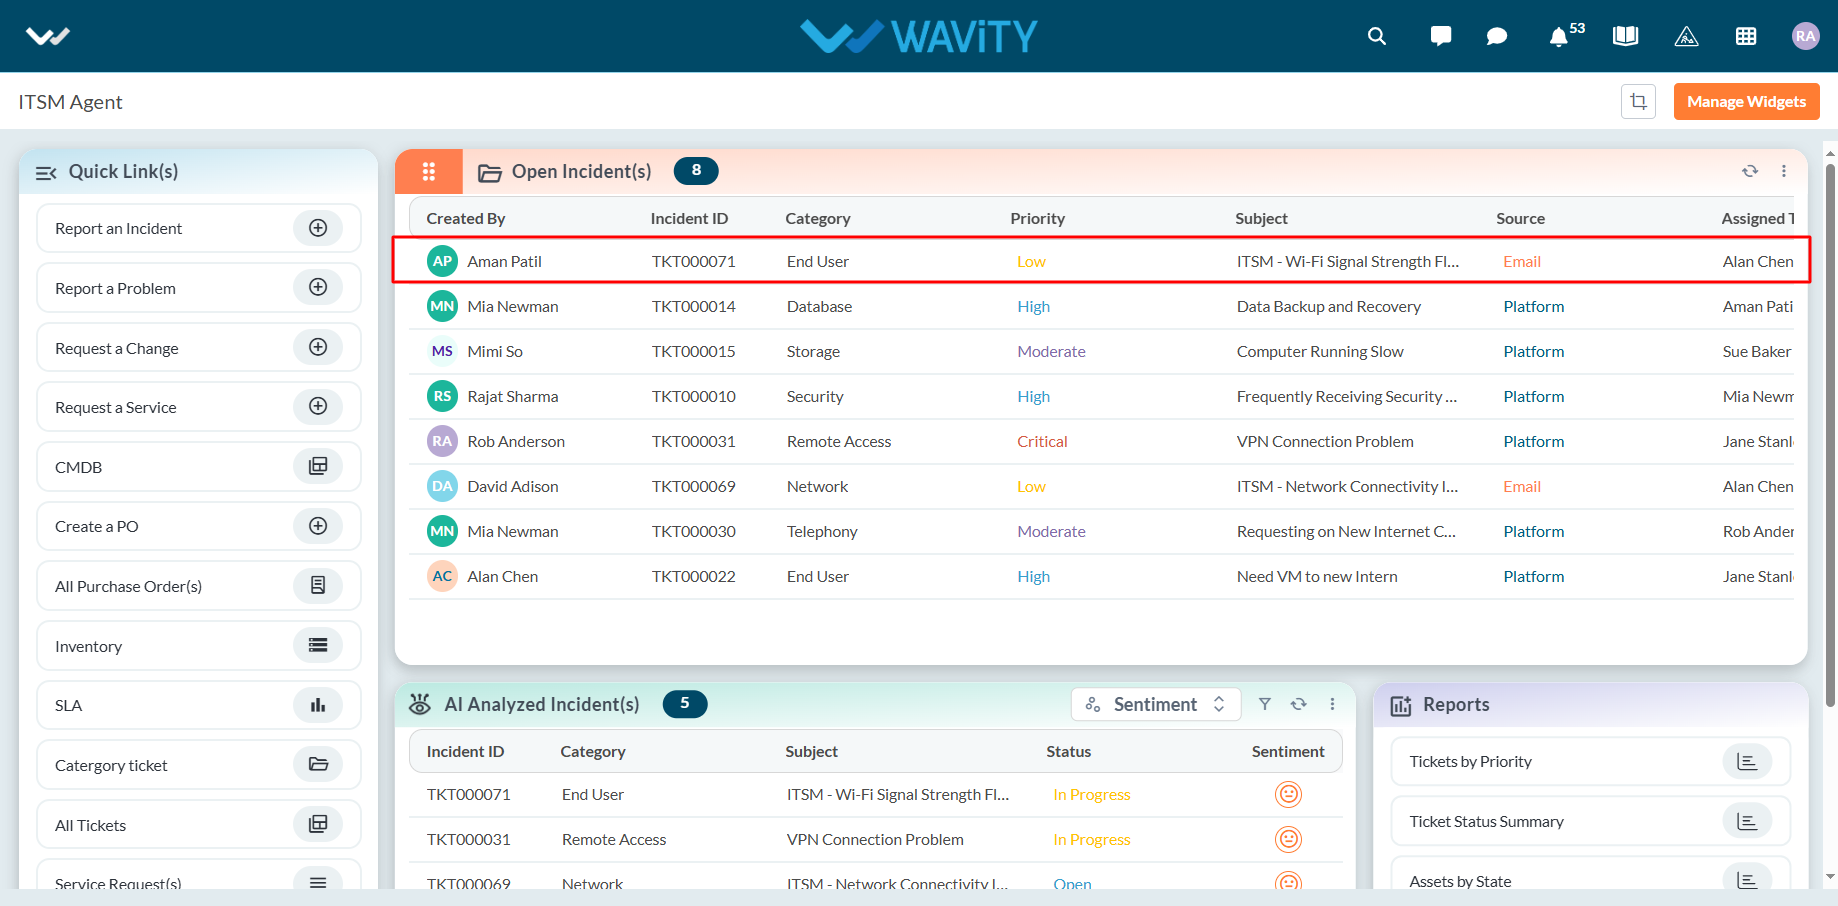
- From the Agent Interface, Click on any of the open incidents.
- In the Resolution section of the incident: Click on Yes to re-assign the incident.

- A new input section will appear. Choose the agent to whom the incident should be re-assigned.

- Provide a brief reason for the re-assignment in the designated field.
- Click Submit to finalize the re-assignment.
