Project Management Office: Creating a Project
Project Management Office: Creating a Project
- Creating a project on the Wavity Project Portfolio Management Solution is a straightforward and user-friendly process.
- Users with PMO Manager access have the ability to create new projects.
- Note: The following steps serve as sample instructions and can be customized based on specific requirements. However, the core workflow remains consistent.
- After logging in with their credentials, users will land on the PMO Persona dashboard.
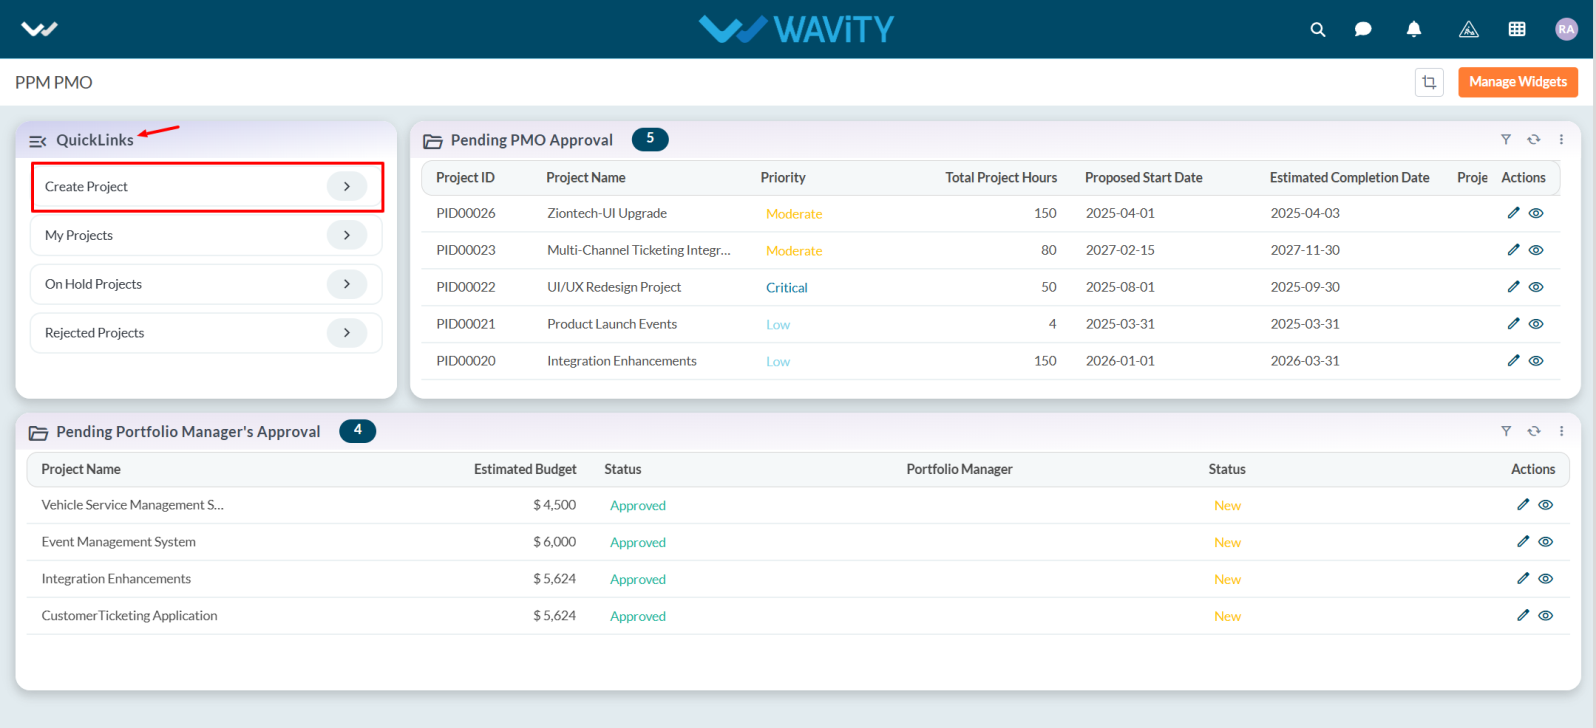
- From the Quick Links, users can create new projects, view pending projects, and review projects they have created.
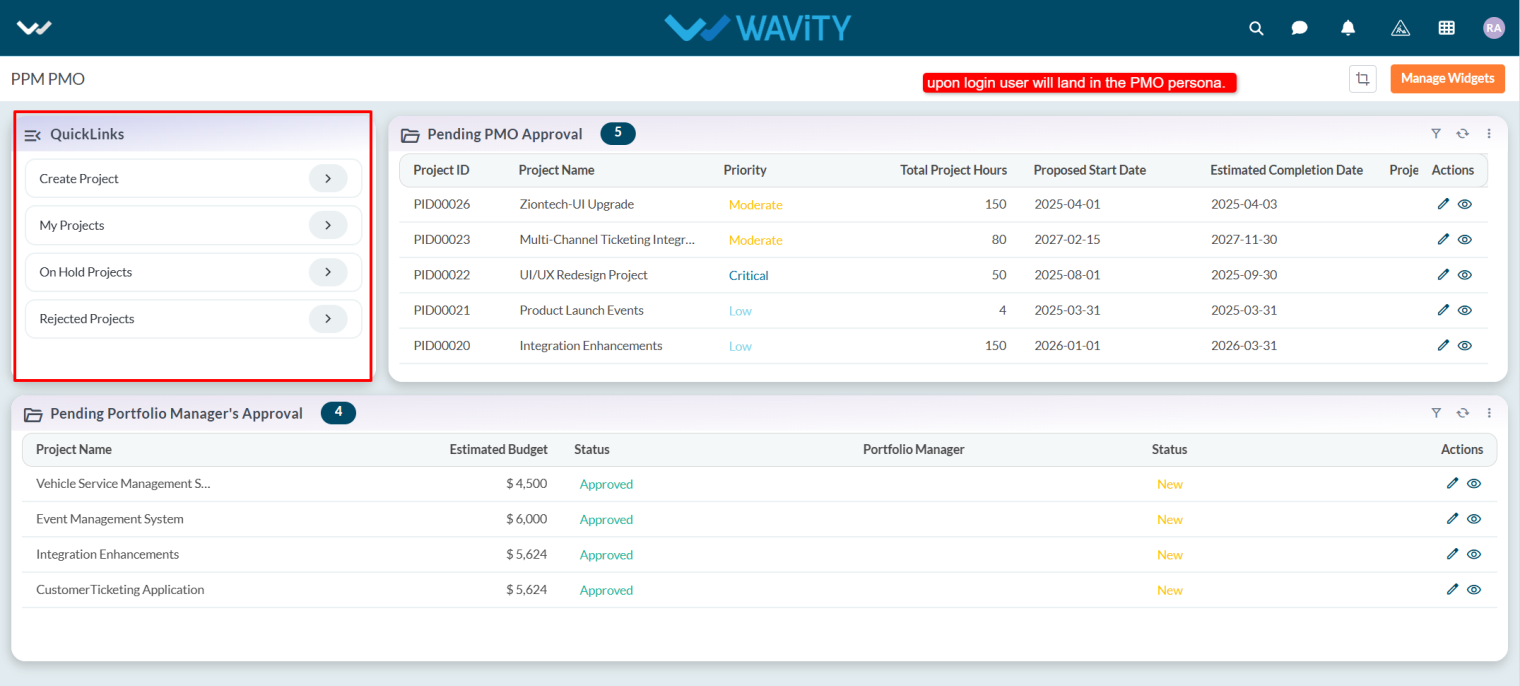
- In the Pending PMO Approval table widget, a PMO Manager can approve projects submitted by other PMO users.

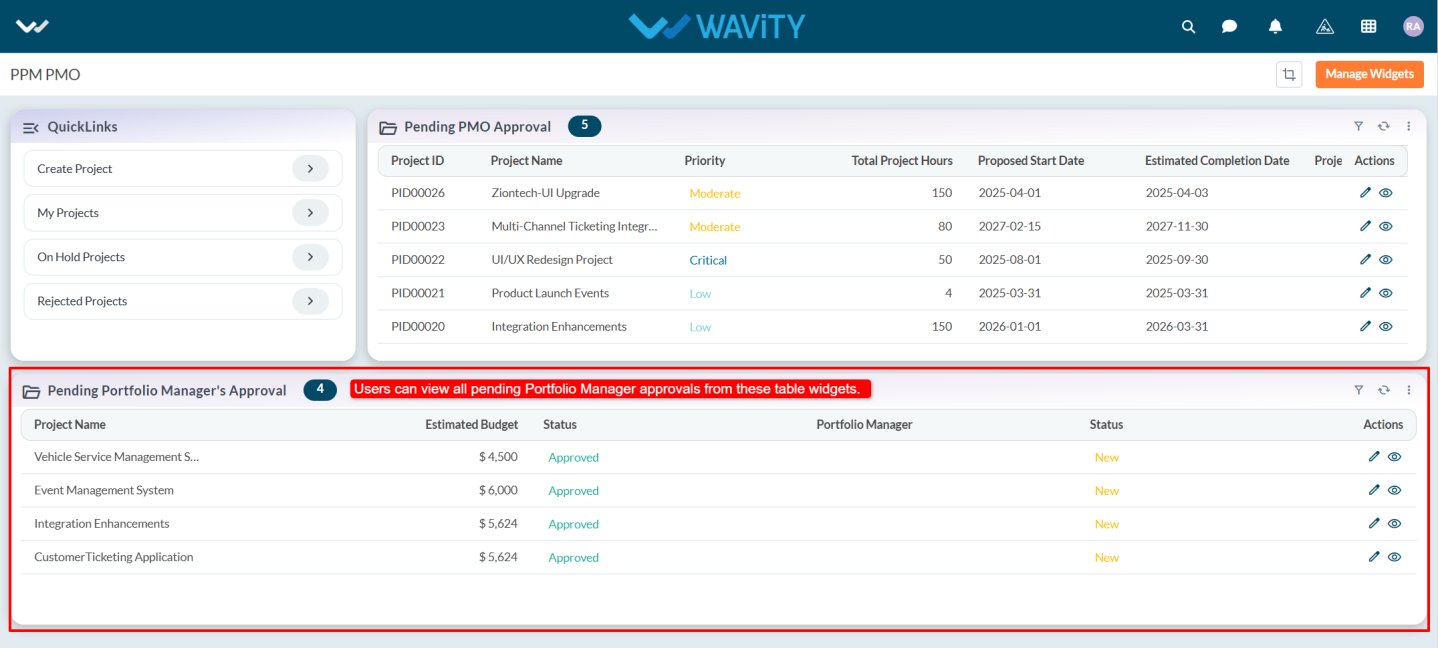
- From Pending Portfolio Manager’s Approval table widget lists all projects awaiting approval by the Portfolio Manager.
- To create a project, click on Create Project from the Quick Links.
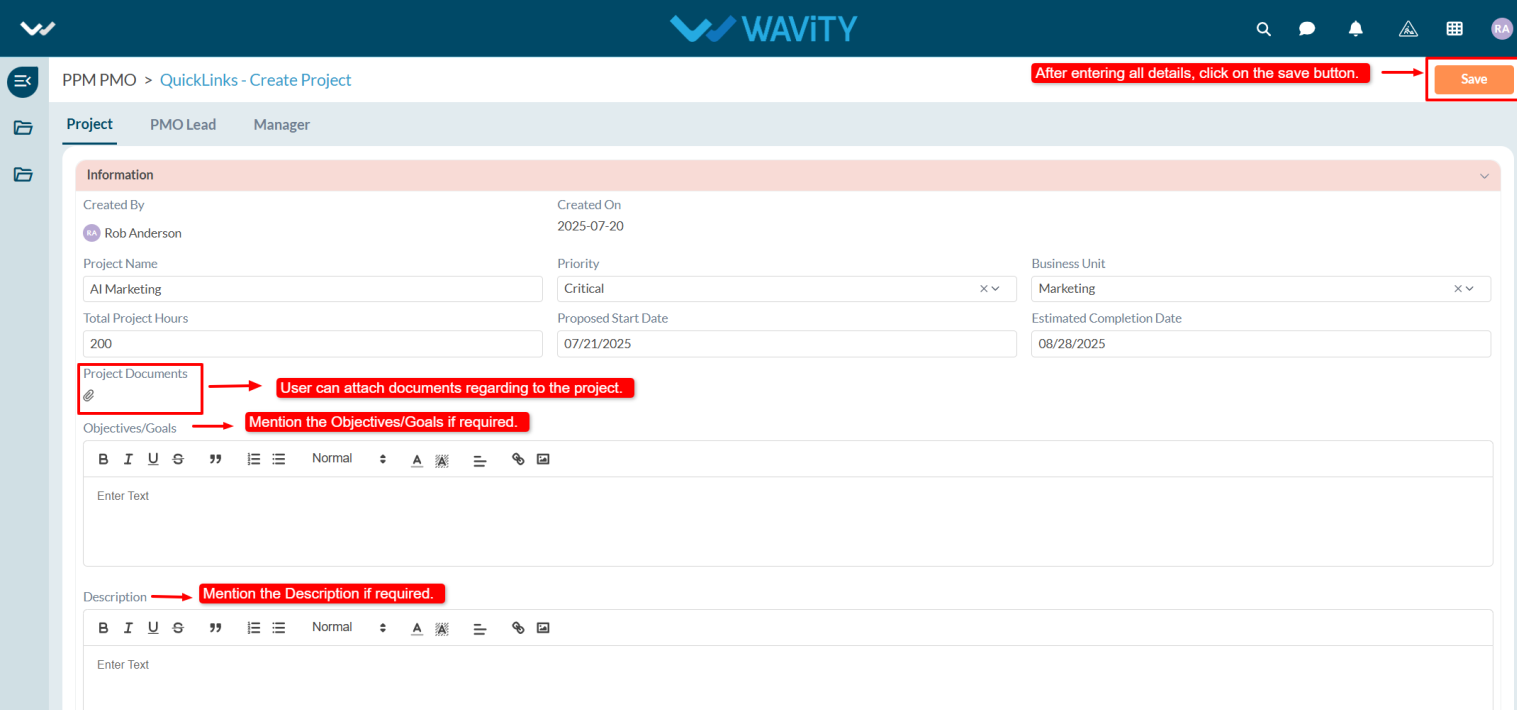
- In the Project tab, under the Information section, users must fill in all required details.
- When creating a project, the system automatically populates the Created By field with the user’s name and the Created On field with the current date.
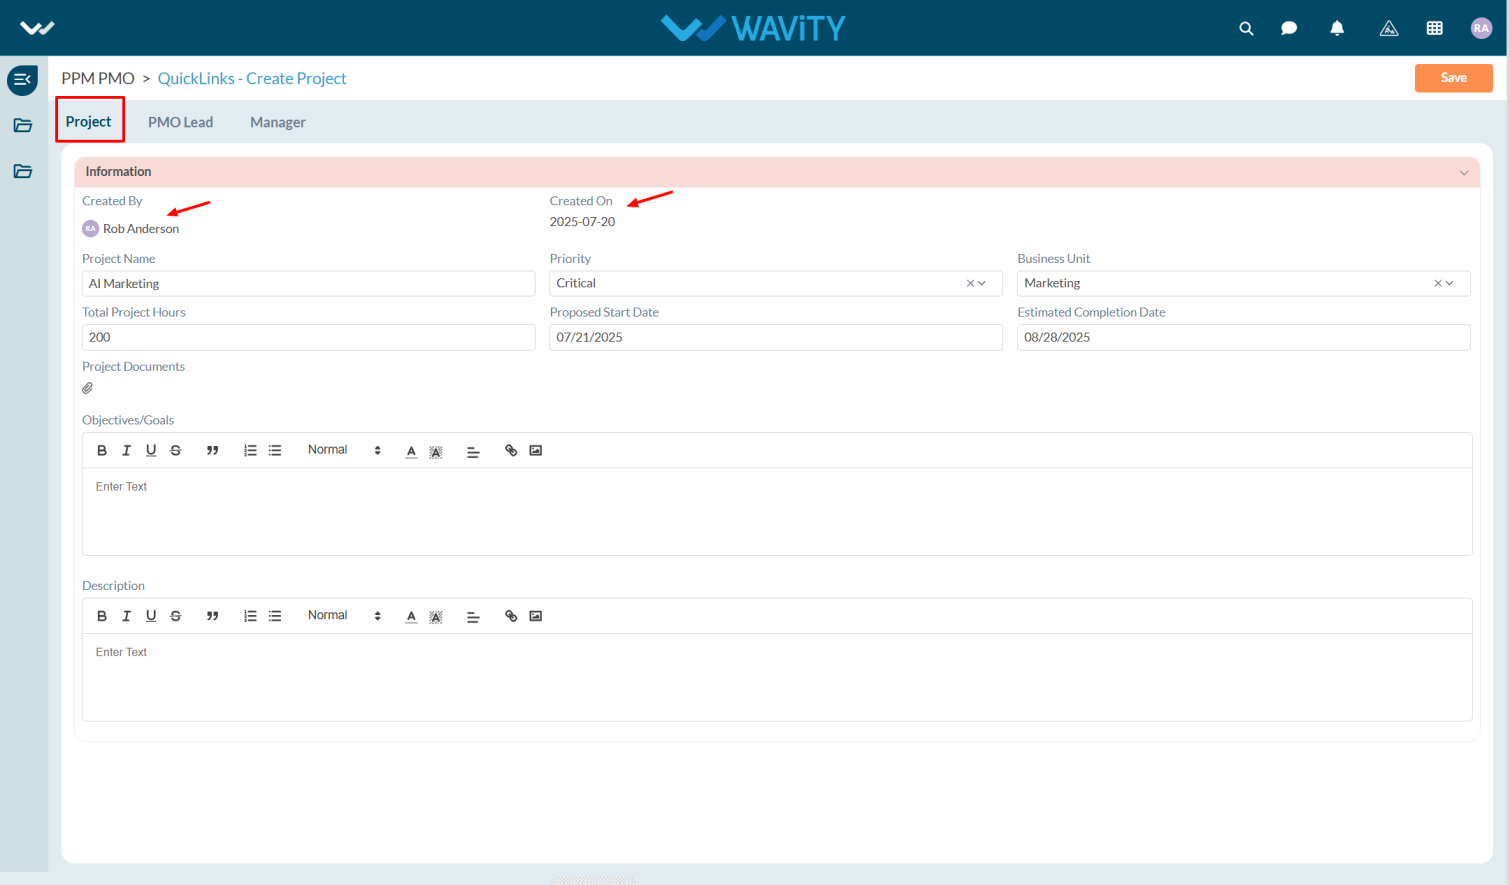
- Enter the Project Name in the field and select the Project Priority from the dropdown.
- Choose the appropriate Business Unit from the dropdown, and enter the Total Project Hours required to complete the project.
- Select the Proposed Start Date and the Estimated Completion Date.

- If there are any relevant documents, they can be uploaded under Project Documents. Additionally, users may enter the Objectives/Goals and Description of the project.
- Once all required information is filled in, click the Save button to create the project.
- Any other user with PMO Manager access can review and approve the newly created project.