How To Import The Assets Through Spreadsheets?
How to Import Assets through Spreadsheets?
- In Wavity, adding an asset in the Inventory Management is a simple and straightforward process that can be easily completed within the platform.
- User with agent access has access to add assets to the inventory. Assets can be added to the inventory in two ways.
- Manually – by entering asset details directly into the system.
- Import via Excel – by uploading asset information using the Excel Sheets import function.
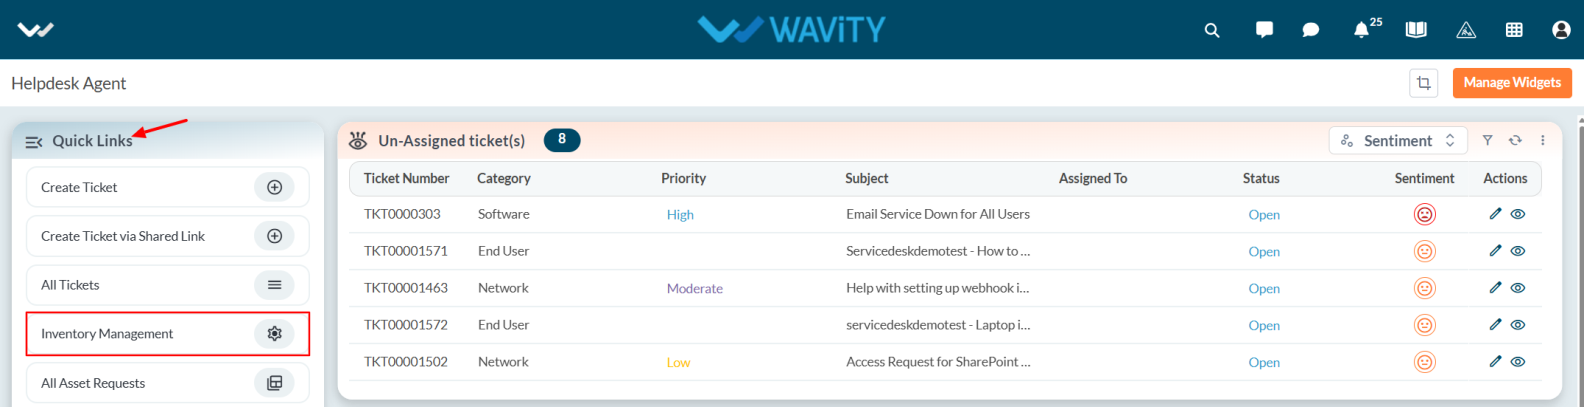
- To add assets from Inventory using Excel, select the Inventory from Quick Links in Agent Persona.
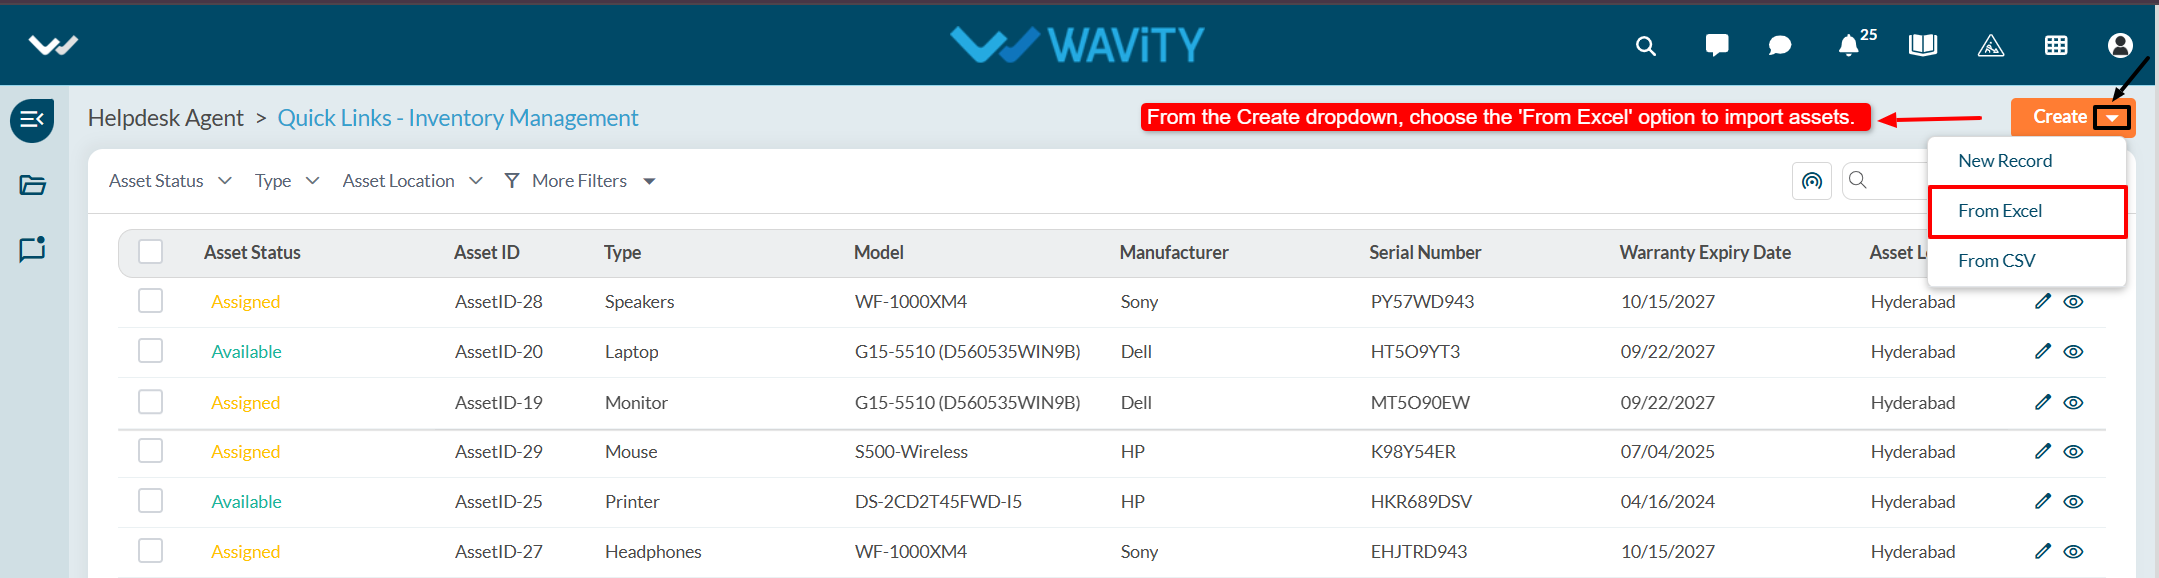
- Click on Create dropdown symbol and select the option From Excel.
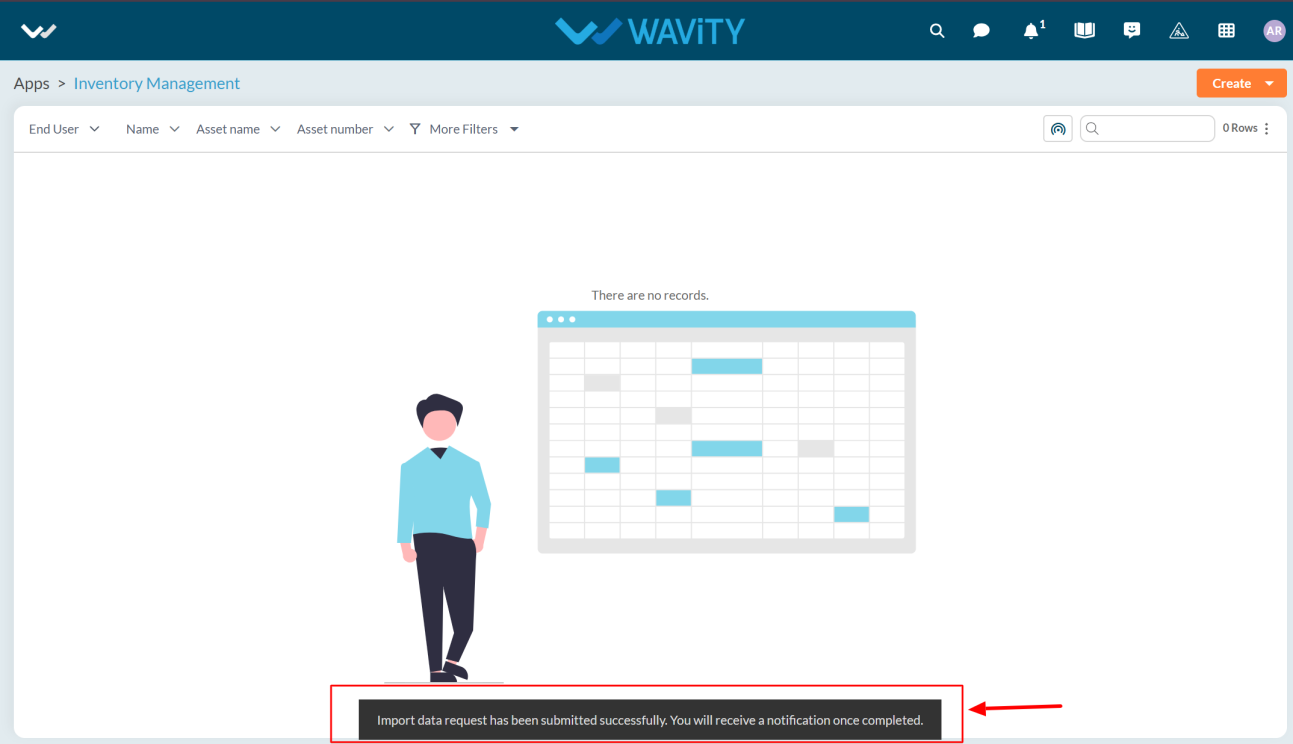
- Select the file from your system to upload (import) it into the application. If the data is successfully processed, a confirmation message will appear on the platform.
- If the imported file is incorrect, you will receive a notification saying Records import failed.
- To avoid import failure, ensure the following conditions are met:
- All data and the template match the selected application.
- All required fields are filled out in the correct format.
- Column data matches the corresponding columns in the template.
- The first row of your file matches the first row of the template sheet.