Admin Guide: How to Create & Edit groups?
- Groups in the Wavity Platform help organize your organization's members into departments, teams, and other functional units. Only company administrators have permission to create, edit, and manage groups.
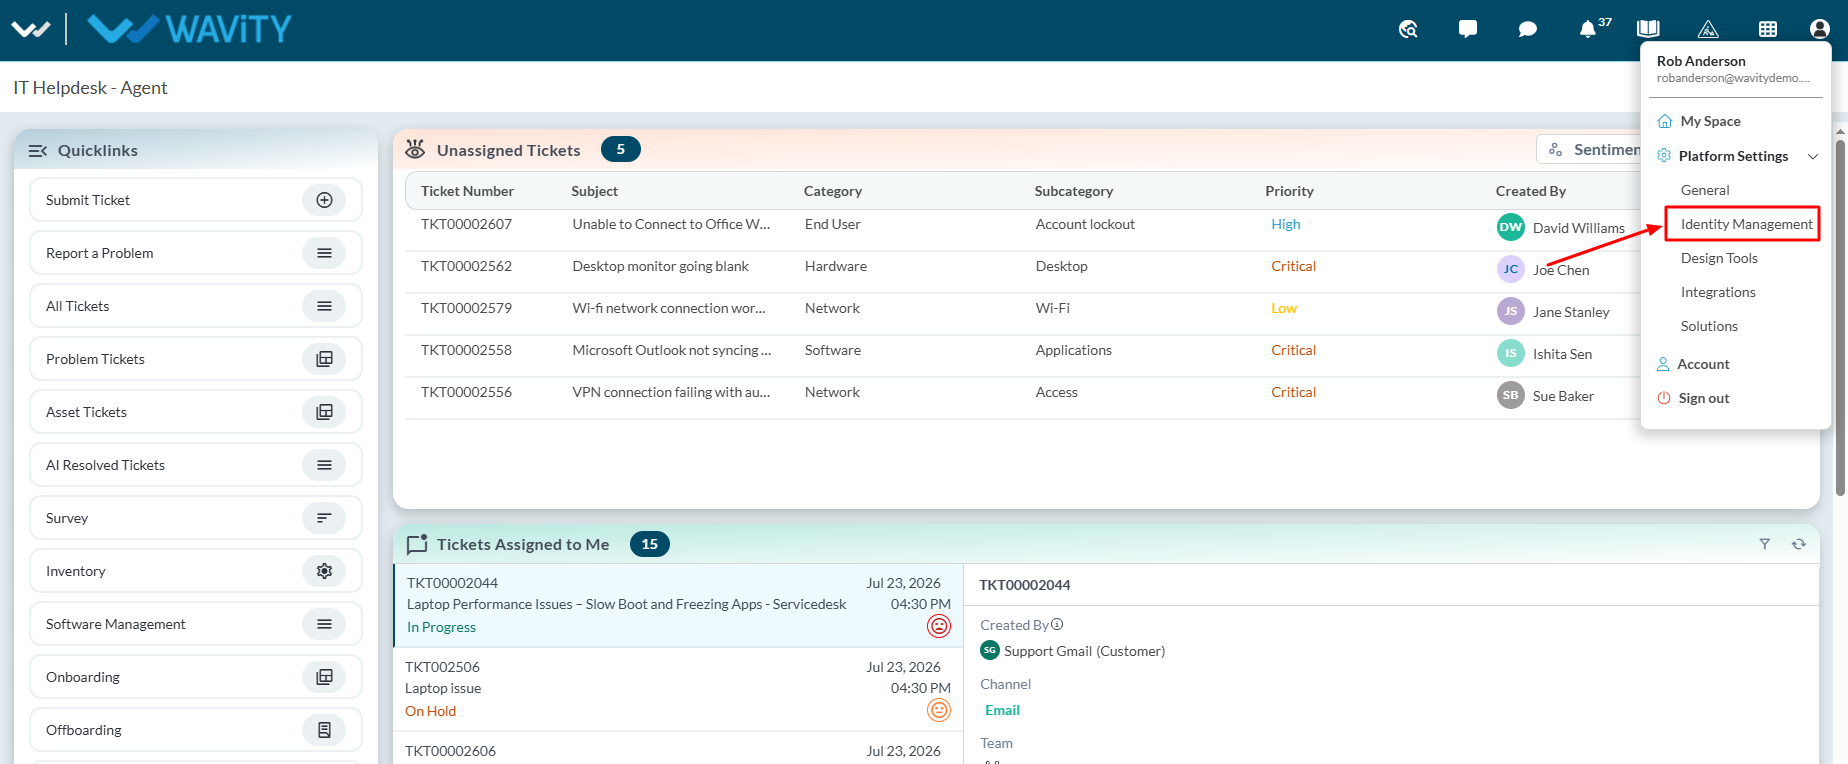
- For accessing the Groups page, Navigate to Platform Settings > Identity Management.
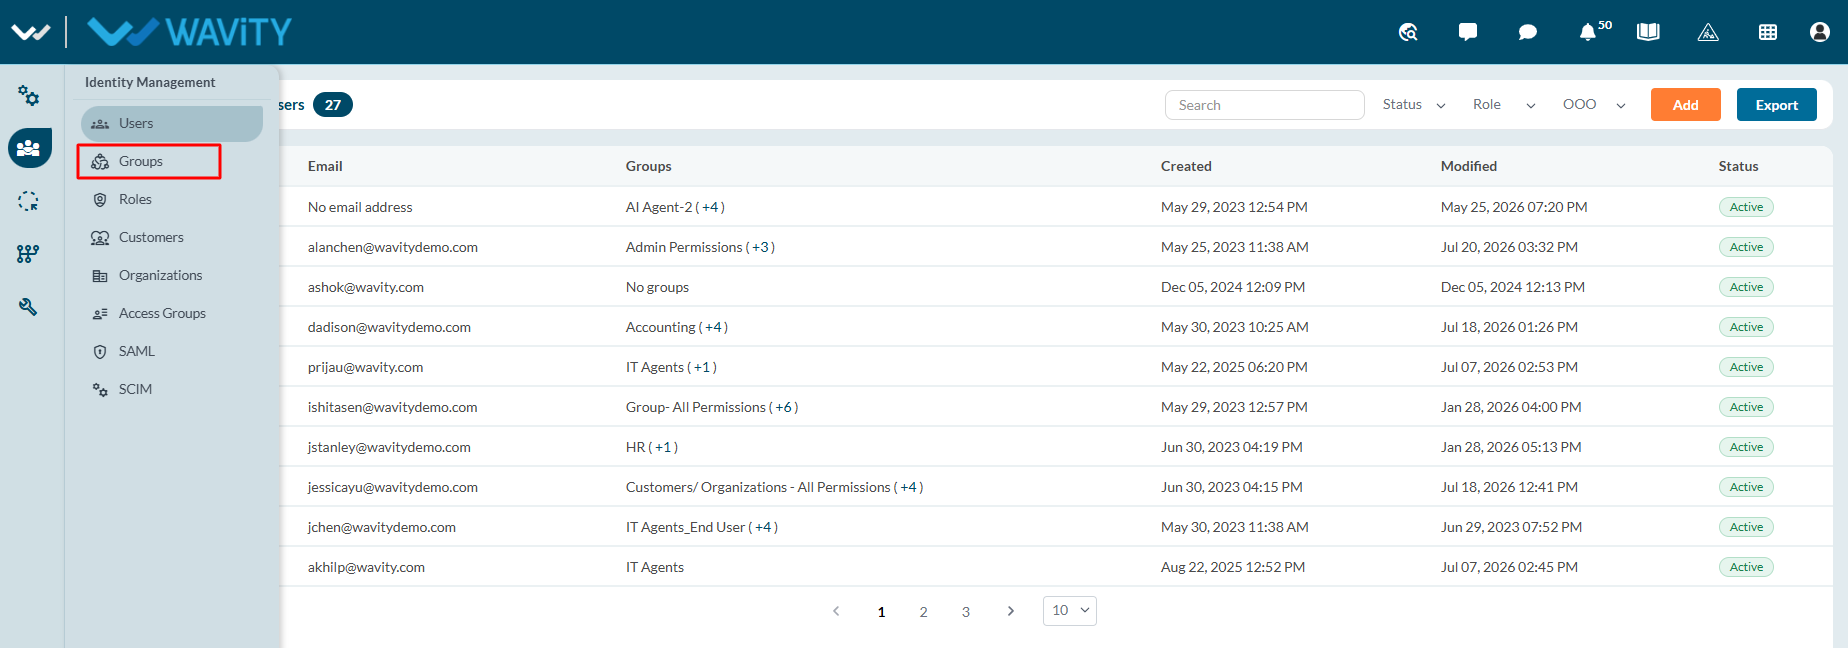
- From the left navigation panel, select Groups.
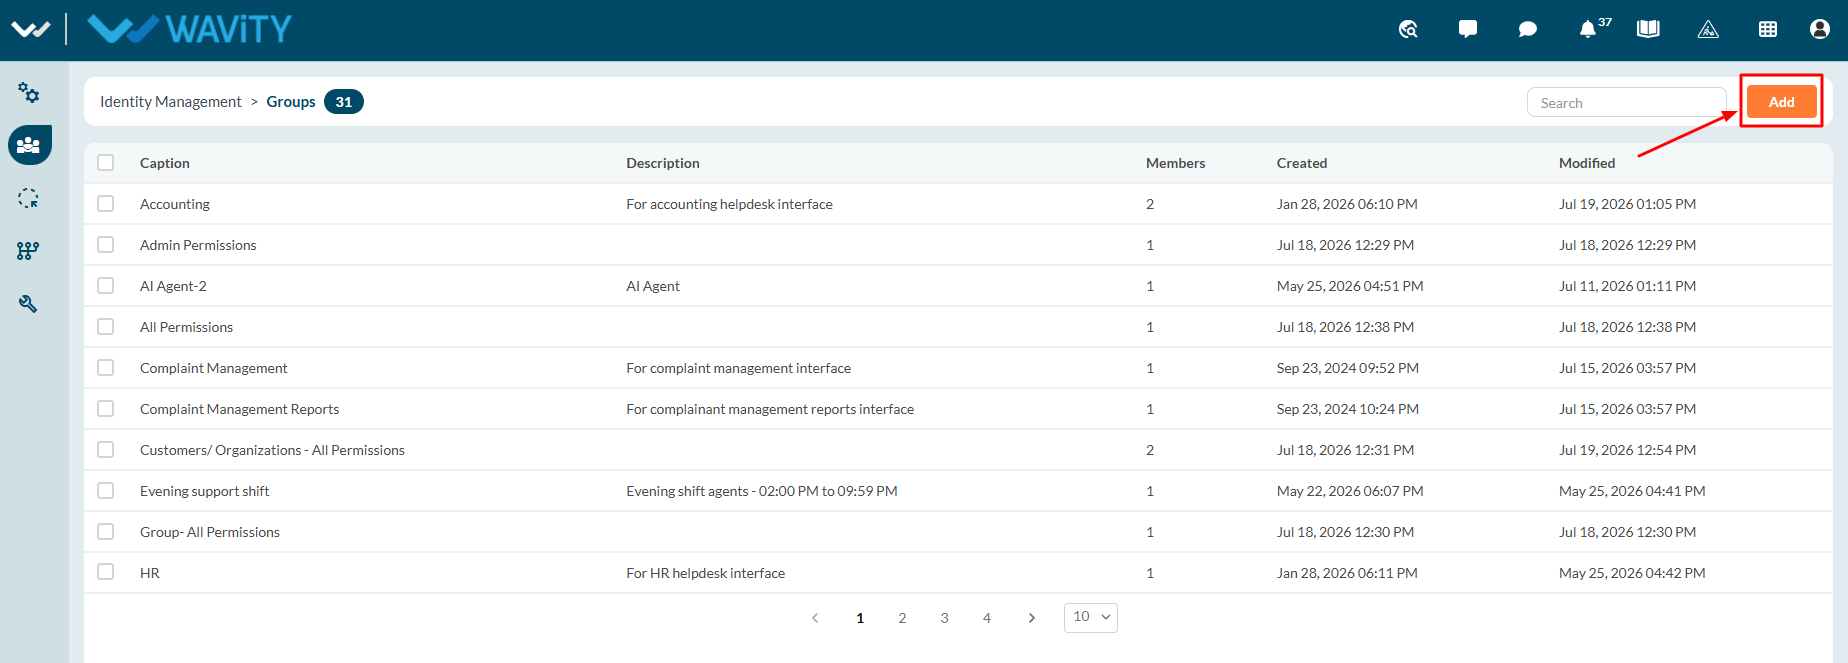
- Click on “Add” button.
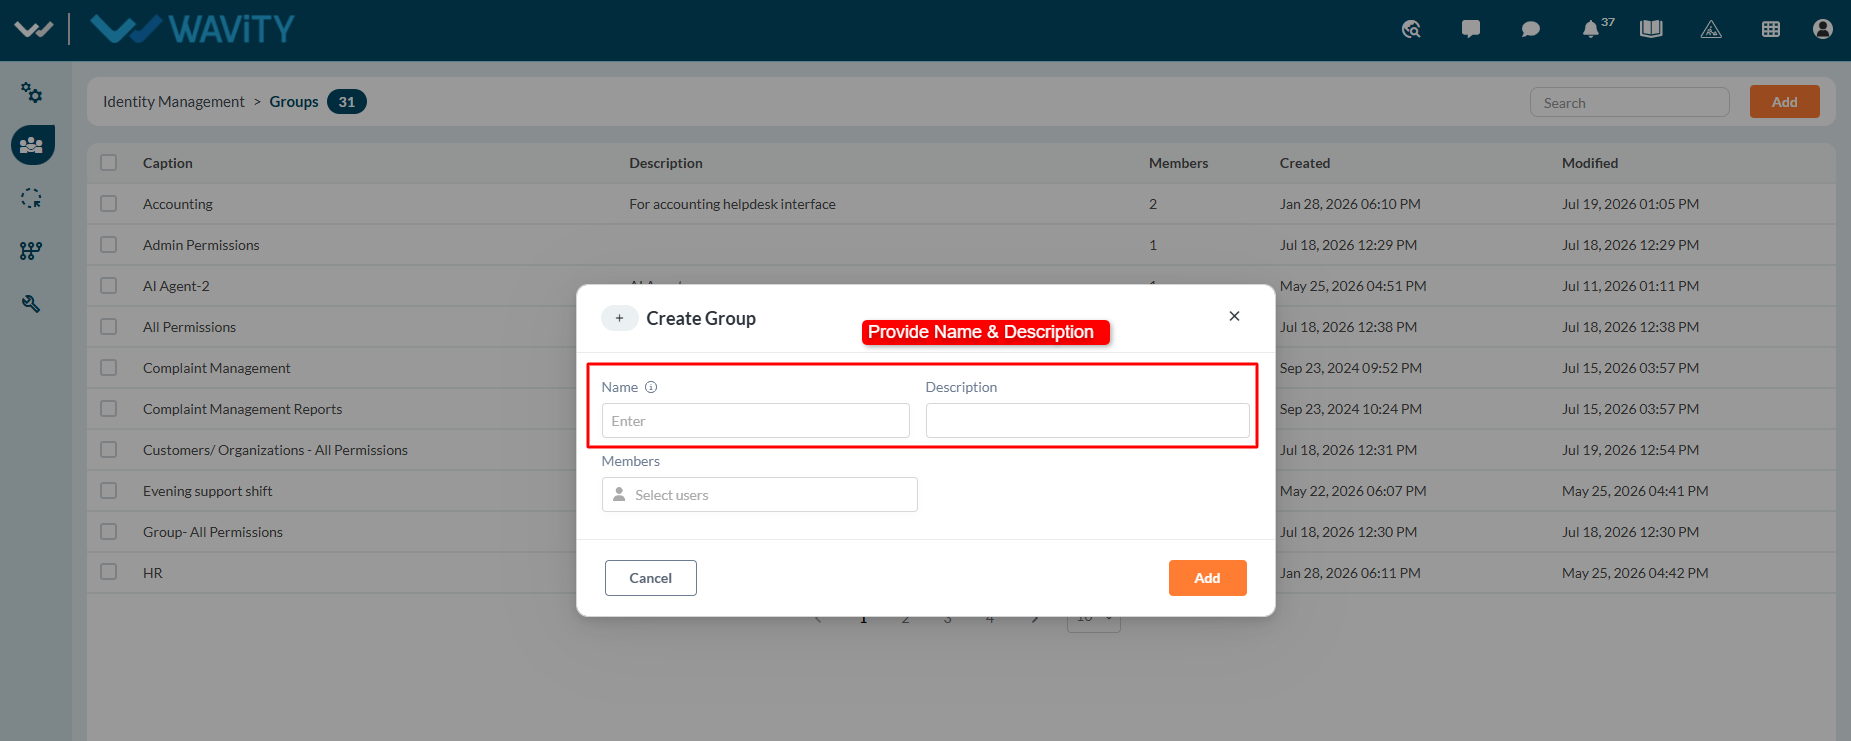
- Fill in all the details of the group in ‘Create Group’ pop up such as Name & Description.
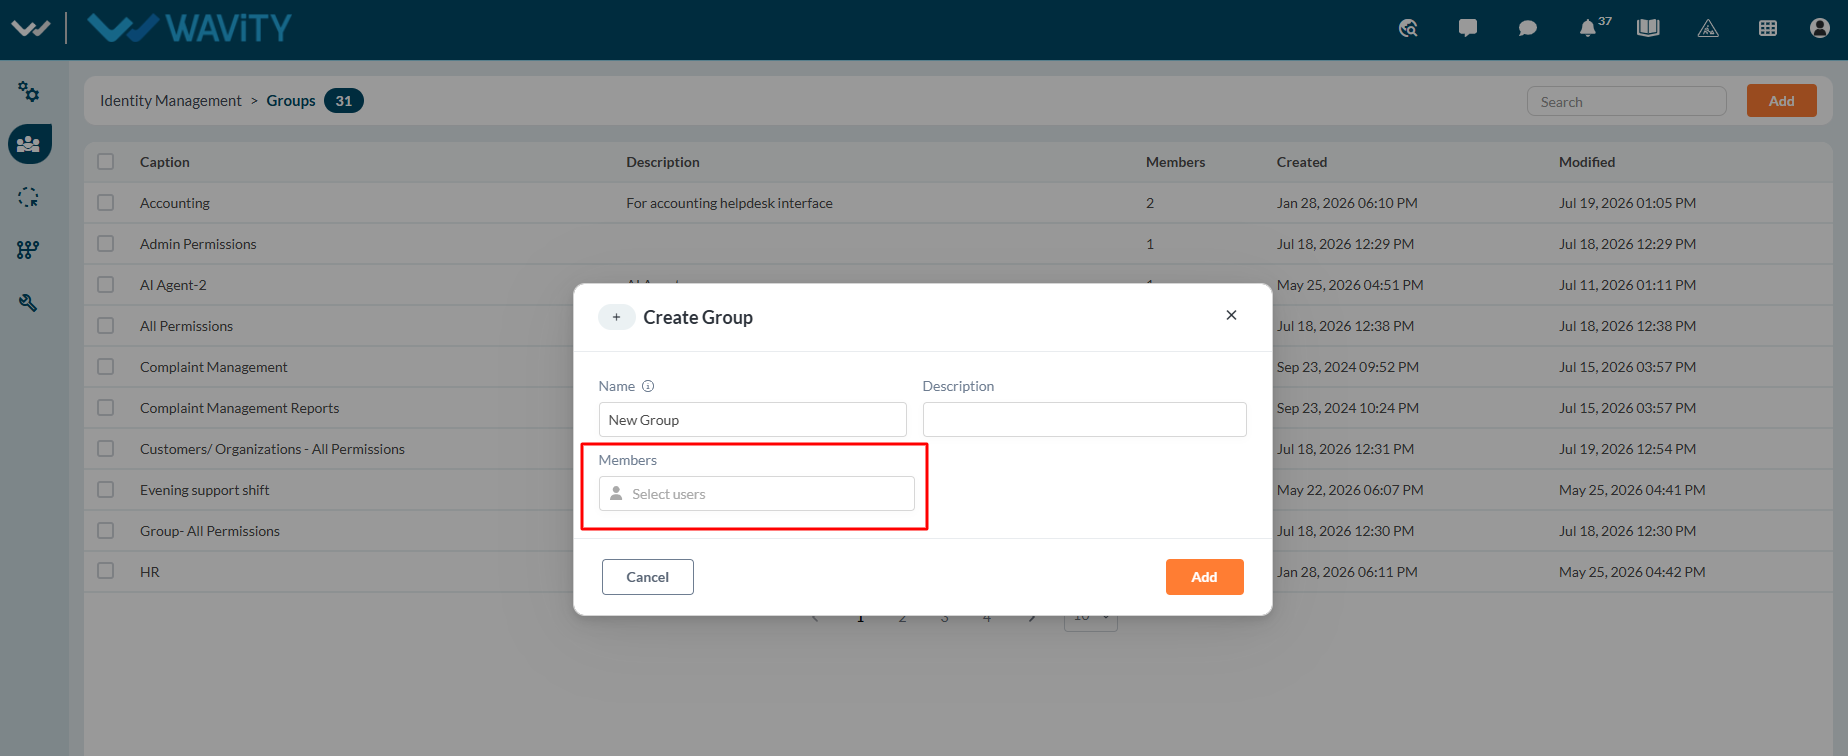
- Add Members/Users into the group by clicking on the button as shown below.
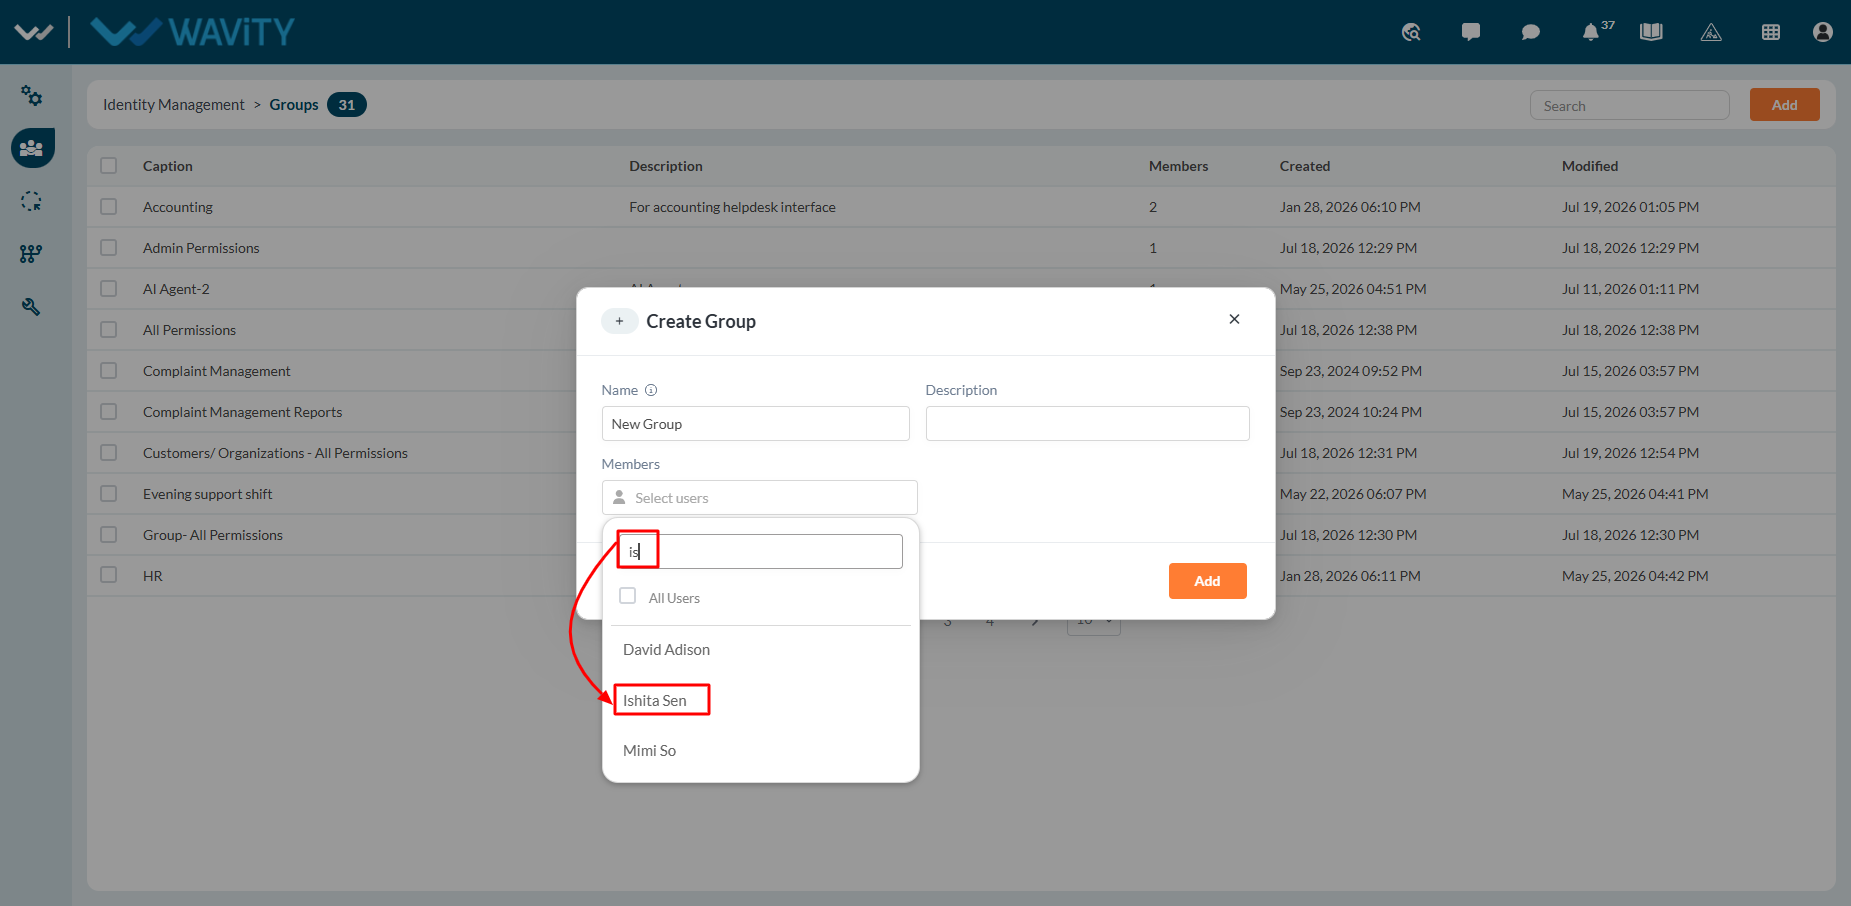
- You can search for the user by entering few letters of user name. Select the ‘User Name’ you want to add in the new group.
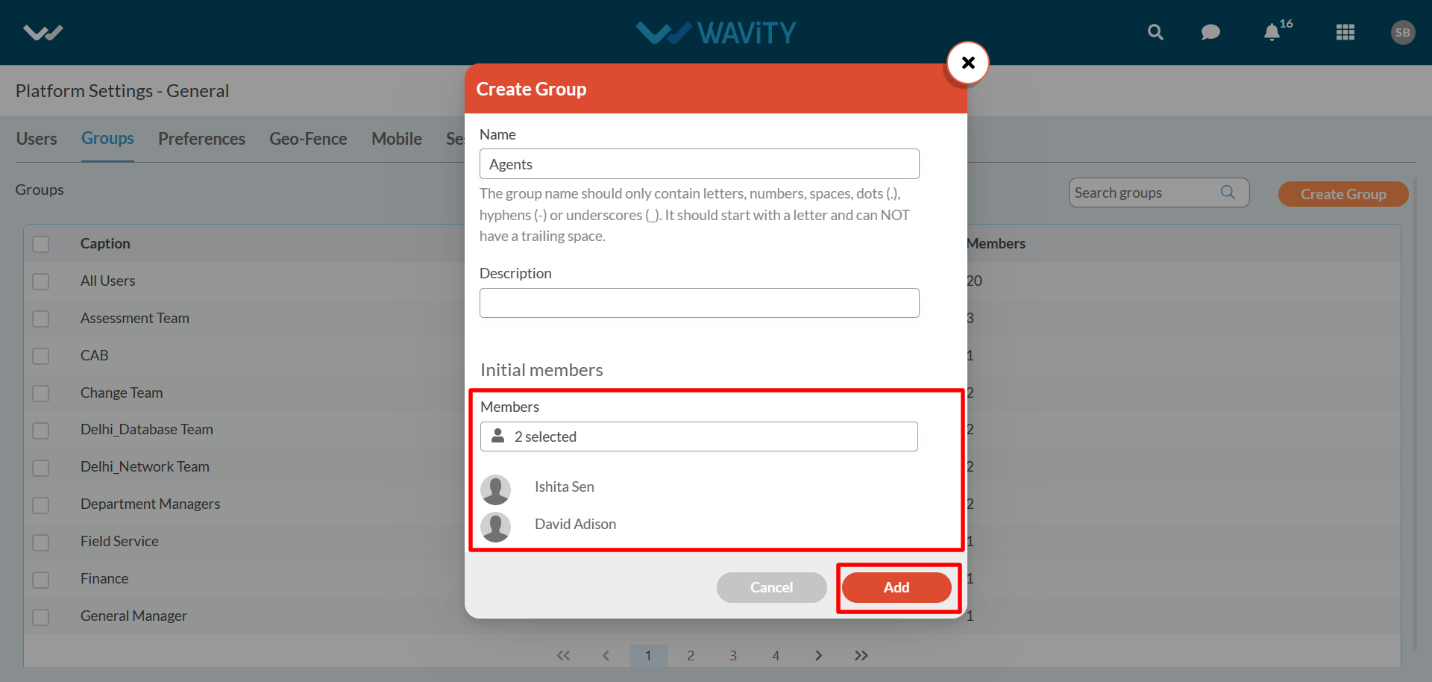
- Click on “Add” button to create the new group.
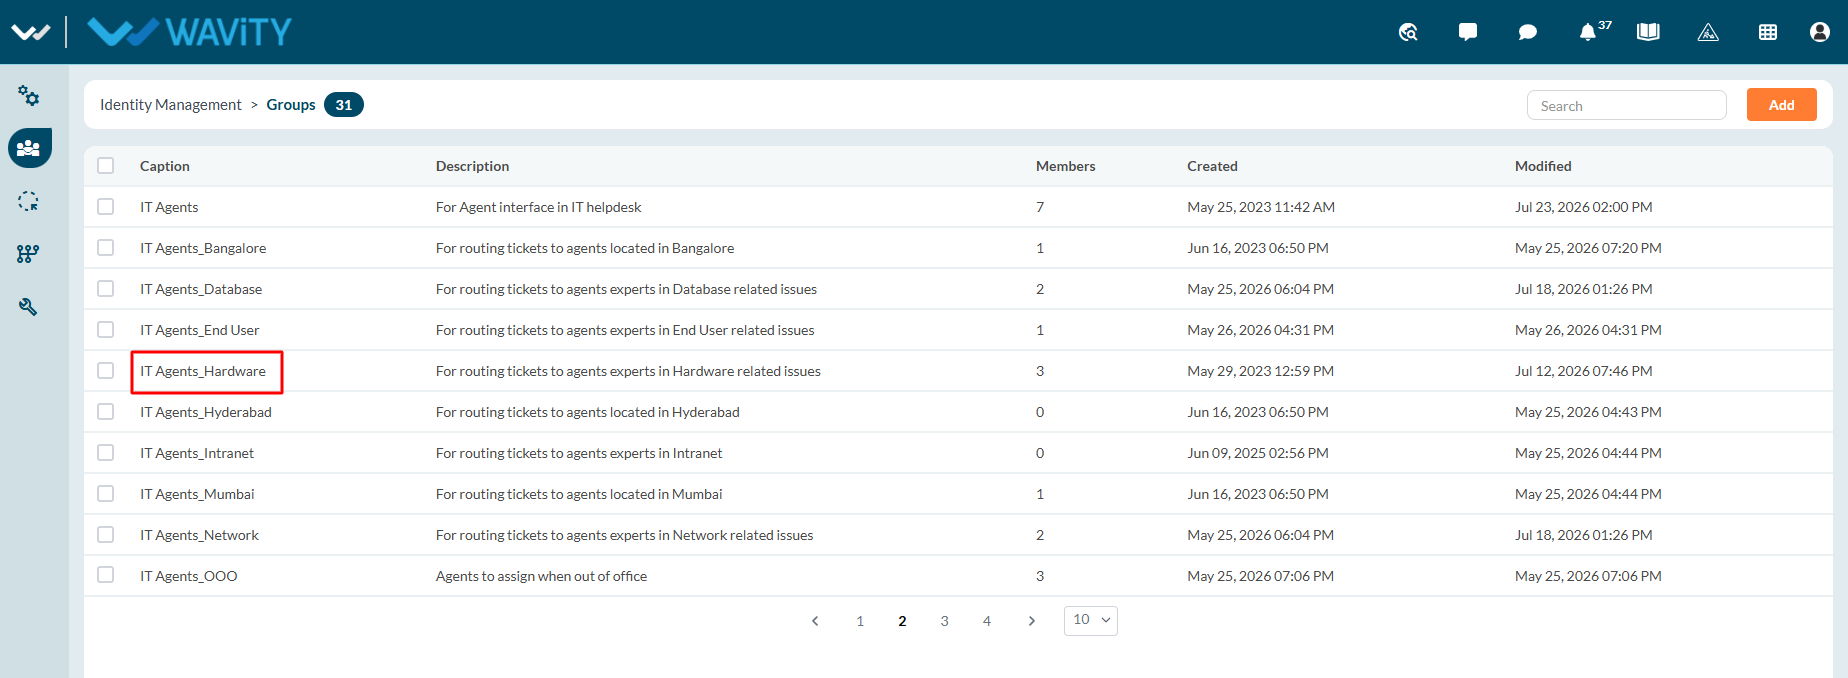
- You can also edit existing groups in the platform. In the group listing page, select the group you would like to edit.
- To add User, Click on “Add Members” button to add new users in the existing group.
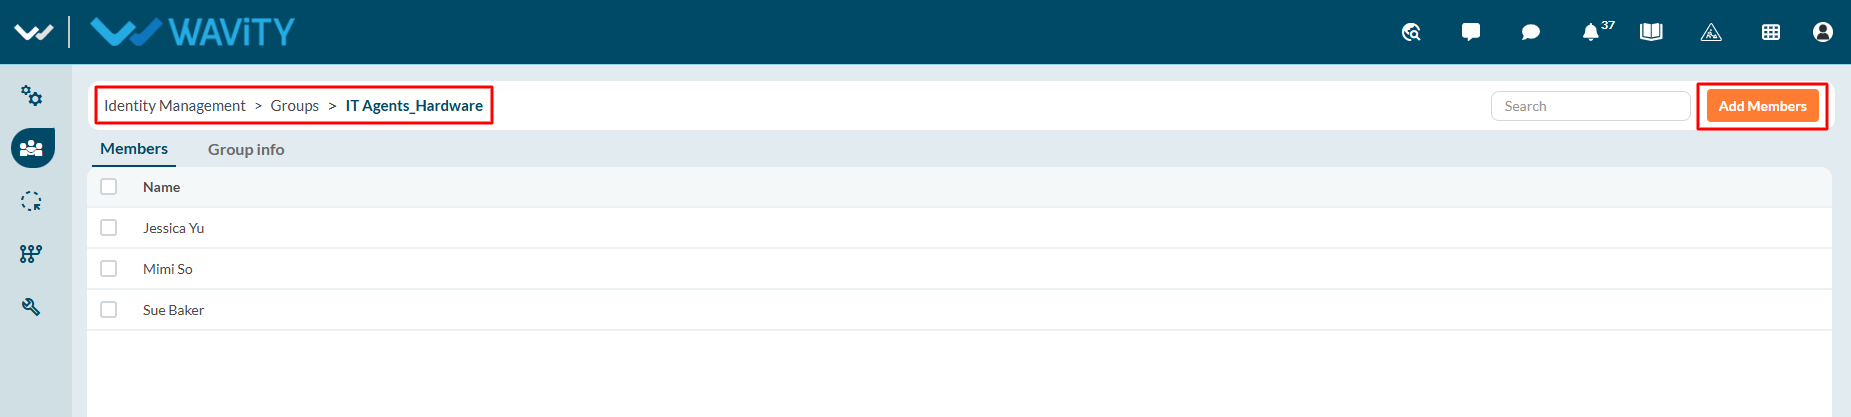
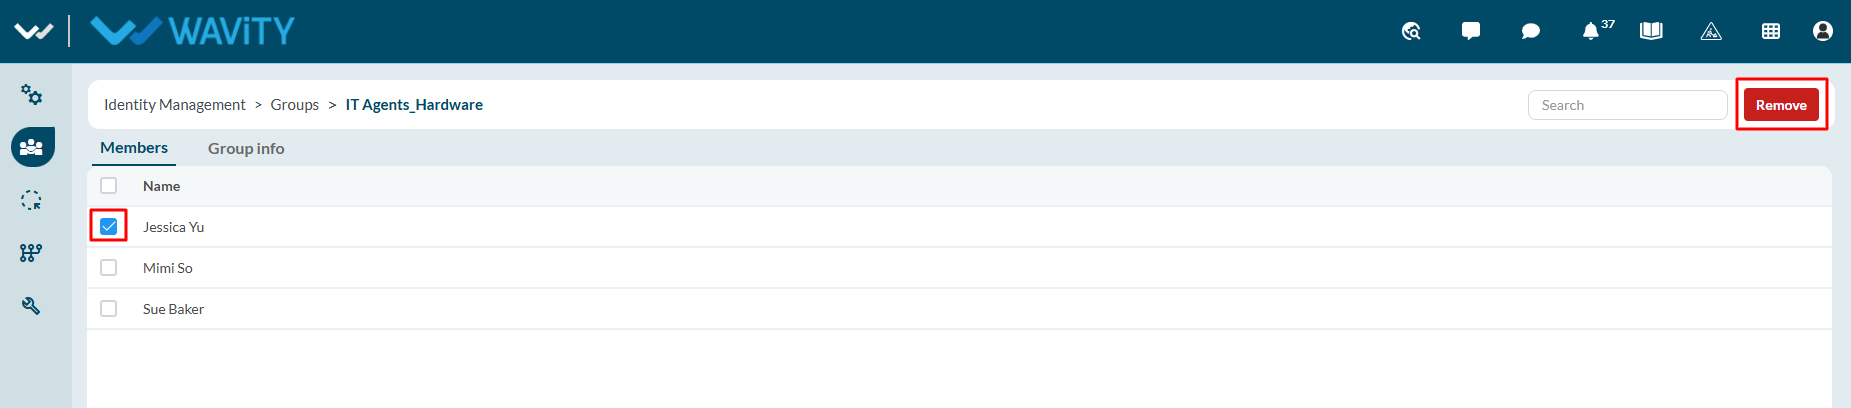
- To remove a user from the existing group, Select the user and click on “Remove” button.